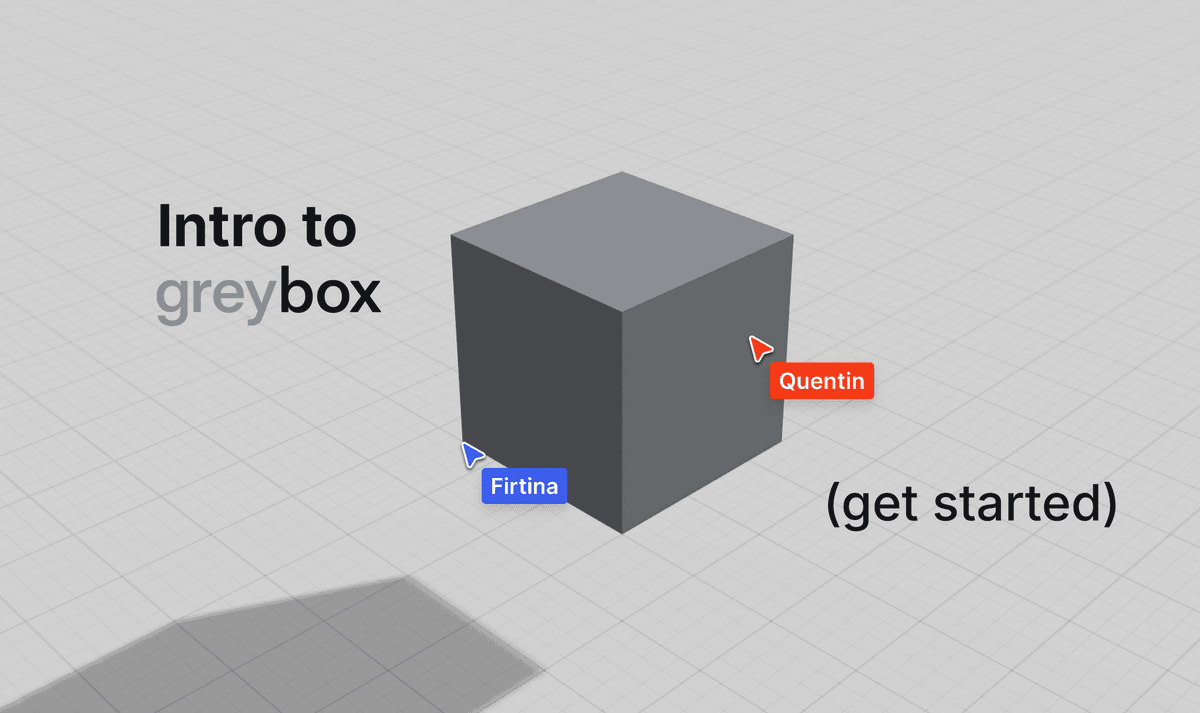
Getting Started with Greybox: Essential 3D Editing Functions
Greybox makes 3D editing accessible to everyone. This guide walks you through the essential functions you'll need to create and manipulate your 3D projects with confidence.
Placing an object
Adding 3D objects to your workspace is simple:
- Locate the main toolbar at the bottom of the viewport
- Select the object type from the menu (cube, sphere, cylinder, etc.)
- Click anywhere in your workspace to place the object, or click anywhere and drag to start drawing
Using the Object Library
Add pre-made objects from Greybox's collection:
- Go to the left panel to access the object library, under 'Assets'
- Browse through available categories and objects
- Click on an object to select it
- Click anywhere in your workspace to place the selected object
- Alternatively, drag and drop objects from the library directly into your scene
- You can search for specific objects using the search bar at the top of the library
Viewing an object
Navigate around your 3D space with ease:
- Rotate: Left-click and drag to rotate around your scene
- Moving sideways (panning): Right-click and drag to move the view horizontally/vertically
- Camera Movement: Use WASD or ARROW keys to move the camera
- Zoom: Use the scroll wheel or pinch in/out on touchscreens
- Focus: Select an object and press F to center the view on it
Moving an object
Select the object by clicking on it - you then have 3 options to move an object:
- Colored arrows will appear - drag the red, green, or blue arrow to move along the X, Y, or Z axis
- For free movement, simply left-click and drag the object around
- Enter precise coordinates in the Properties panel on the right
Rotating an object
Change the orientation of your 3D objects:
- Select your object
- Colored rings will appear - drag any ring to rotate around that axis
- For free rotation, drag outside the rings
- Set exact rotation angles in the Properties panel
Resizing an object
Adjust the dimensions of your 3D objects:
- Select your object
- Drag the colored handles to scale
- Tip: Hold Shift while scaling to scale evenly on all axis
- Another option is to simply enter precise measurements in the Properties panel
Grouping objects
Organize and manipulate multiple objects together:
- Select multiple objects by holding Shift and clicking each one, or select them in the left panel under 'Scene'
- Right-click and select "Group" (or press Ctrl+G)
- The grouped objects will now move, rotate, and scale as a single unit
- To ungroup an object, select the object in the left panel and drag it out of the group in the list
Duplicating objects
Create an exact copy of any object:
- Select the object
- Hold Alt and drag the object to create a duplicate
- Alternatively, right-click the object and select "Duplicate" from the context menu
Hiding objects
Temporarily remove objects from view without deleting them:
- Select the object
- Press CTRL + H to hide it (or right-click and select "Toggle visibility")
Creating Holes
Add negative space to your 3D objects:
- Create or select the object that will have the hole
- Select 'Add a hole' in the toolbar or right-click the object and select 'Add a hole'
- Pick the primitive shape you want the hole to be in
- Position the "hole object" where you want the hole to be
Important Notes:
- When you create a hole, Greybox automatically groups the hole object with the target object
- Hole objects only work when grouped with the objects they affect
- If you remove a hole object from its group, it will revert to a standard object
- Hole objects only affect objects that appear above them in the group hierarchy
- To change which objects are affected by a hole, adjust their order in the group
Remember that practice makes perfect! Experiment with these functions to become comfortable with Greybox's intuitive interface. And if you have any more questions or would like a demo, feel free to drop us a note at hello@greybox.app or visit the Greybox Discord Server!
👉 Sign up here to try Greybox today and start creating in 3D!
